


Article Summary
- This article will discuss why you need to take your Xbox One apart or disassemble it.
- Some safety precautions are shared that you need to consider before taking your console apart.
- Step-by-step procedure to take Xbox One Apart without damaging any part or internal components.
- You will learn to clean your Xbox One or service its components for better performance.
- We also shared the reassembling process with some testing methods.
Reasons To Take An Xbox One Apart
There can be several reasons behind taking the Xbox One apart. We’ll discuss some of the common ones.

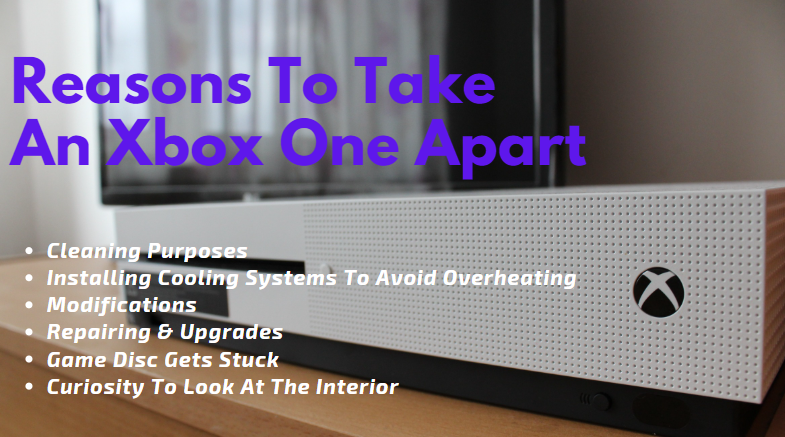
Cleaning Purposes
One of the most common reasons you need to disassemble the Xbox One is for cleaning. After some time, dust and debris can get into your console which eventually affects its performance and cooling capacity. Regularly cleaning your Xbox One can prevent it from dust buildup and disassembling allows you to clean it thoroughly.
Installing Cooling Systems To Avoid Overheating
When you’re playing any graphics-demanding game and suddenly you feel that your console is getting overheated. This is the time you need to clean its cooling components or get a more powerful cooling system. To do so, you need to take your Xbox One apart. With this, you can improve your console’s ventilation system and improve cooling efficiency.
For Modifications
Maybe you want to modify your Xbox One for custom hardware or aesthetics like LED lighting and custom paint jobs or decals. Disassembling your Xbox One provides access to the console’s shell so you can modify it as you want.
Repairing & Upgrades
If you’re experiencing some hardware issues, you need to take your Xbox One apart which can facilitate repairs. Moreover, upgrades like a hard drive or cooling system often require the disassembly of your console.
When The Game Disc Gets Stuck
Sometimes, due to various reasons, such as a sudden jolt or a mechanical issue, a game disc may become jammed inside the Xbox One’s disc drive. When a disc is stuck, the Xbox One may display error messages like “Disc Read Error” or “Open Tray”. At that time, you need to take the Xbox One apart to retrieve the disc.
Curiosity To Look At The Interior
Some people are just too curious and tech-savvy about the internal components that you need to look at what’s inside this console. This is why they want to take their Xbox One apart.
Safety Precautions Before The Disassembly Process
Taking safety precautions before taking Xbox One apart is very important as it can save you a lot of trouble. The disassembling process of the console requires careful attention to detail and adherence to essential precautions.

Here are some of the practices you need to follow to ensure safety.
- Wear safety gear including anti-static wristbands, gloves, and safety glasses.
- Before taking your Xbox One apart you need to disconnect the console from the power source. It is a fundamental step to prevent any electrical accidents.
- Before touching any components or the console’s body make sure that you ground yourself properly by touching a grounded object or using an anti-static wristband.
- Clean your surroundings so you don’t lose any parts or screws.
- When dealing with components like circuit boards or connectors, you need to avoid excessive handling and direct contact with pins and circuits.
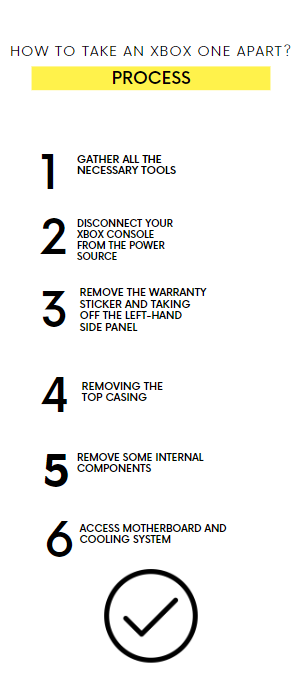
How To Take Xbox One Apart? (Step-by-Step Disassembly Process)
Taking Xbox One apart is a simple yet delicate process that should be approached with caution.
In this guide, we’ll share all the steps with clear and concise instructions along with images to help you safely and effectively disassemble your Xbox One.

Let’s get started!
- Gather All The Necessary Tools
Make sure you have all the required tools like Screwdrivers (T8 and T10 Torx), plastic prying tools, anti-static wristbands, gloves, and safety glasses. Try to do this process in a clean, well-lit workspace free from static-inducing materials. Put safety before anything.
- Disconnect Your Xbox Console From The Power Source
Try to use anti-static gloves and attach the anti-static wristband to your wrist, grounding the other end. Also, make sure that the Xbox One is completely powered off and unplugged from the electrical outlet.
- Clean Your Surroundings and Consider Doing This On A Carpet
Static electricity poses a potential risk of causing lasting harm to sensitive circuits. To mitigate this risk, it’s essential to adhere to proper grounding practices, such as ensuring you touch a metal surface before commencing your work or doing your process on a carpet.
- Start By Removing The Warranty Sticker And Taking Off The Left-Hand Side Panel
To begin, take a flathead screwdriver or a spudger and carefully insert it into the gap found at the back-left corner of the console, adjacent to the plastic grille located on the left side of the console. Then, with gentle precision, delicately pry the grille away from the console. It’s advisable to opt for a plastic tool in this step, as the grille is crafted from relatively fragile plastic material.
- Removing The Top Casing
You need to make sure that the Xbox One is positioned flat, with its bottom facing downward during this step. The upper casing should pivot upward, reaching a 90-degree angle in relation to the console’s body.
To separate the top case from the rest of the console’s body, use a plastic opening tool to gently detach them. Progress methodically around the entire console, working your way through. Once the top case is no longer attached, take care as you lift it away and set it aside for further disassembly.
- Removing Some Internal Components (metal bracket, fan, and heatsink)
First of all, to prevent any harm to the Wi-Fi board, it’s essential to remove it swiftly.
Near the front of your console, you will see the Wi-Fi board. You need to disconnect the antenna cables using tweezers or needle-nose pliers. Safely remove it with the help of a T8 screwdriver.
Removing these components is required to access the motherboard and other internal elements that might necessitate maintenance, repair, or replacement.
Moving forward, you’ll encounter the metal brackets secured by Torx T10 screws. Once these brackets are removed, access to the fan and heatsink becomes available. You need to carefully detach the screws holding them in place, disconnect any associated cables, and then proceed to remove the fan, followed by the heatsink.
Please note that throughout this process, you need to be mindful of the potential sensitivity of internal components.
- Accessing Motherboard and Cooling System
Now, you’ll have a clear view of the console’s internal components, including the fan, hard drive, CD drive, and the prominent green motherboard running along the console’s lower section.
The final phase of disassembling your Xbox One involves the removal of the motherboard, a pivotal step enabling various repair, cleaning, or replacement tasks. To do so:
Locate and unscrew any remaining screws that secure the motherboard to the bottom case.
Carefully identify and disconnect any connectors or cables that are attached to the motherboard.
Gently lift the motherboard out of its casing.
With the motherboard removed, you gain access to the heart of your console, facilitating any necessary maintenance or replacements.
As you proceed, keep in mind that the reverse order of these steps will guide you when it’s time to reassemble your Xbox One.
How To Clean Your Xbox One?
Cleaning your Xbox One from outside and inside is crucial. Regular cleaning ensures that your console is reaching peak performance and ensures longevity.
Here’s how you can clean your console effectively.
Start by gathering the necessary supplies. You will need a microfiber cloth, compressed air, cotton swabs, and isopropyl alcohol.
Let’s first focus on the external cleaning. Take a microfiber cloth to gently wipe the console’s exterior, including the top, sides, and front panel. Make sure there’s no debris or dust left on the outer side of your Xbox One.
For crevices and vents, use compressed air to blow away dust and particles, holding the canister upright to avoid moisture. Dip a cotton swab in isopropyl alcohol to carefully clean around buttons, ports, and seams.
Don’t forget about your controllers; wipe them down with a microfiber cloth and use compressed air for button areas.
Conclusion
The reasons for taking apart your Xbox One can be different, from cleaning and cooling upgrades to repairs and customization, all of which are made possible through this disassembly process. Learning how to take apart your Xbox One is an equally valuable skill for gamers and tech enthusiasts. This guide has provided you with essential insights into the disassembly process. So, whether you need to clean your console, perform repairs, or undertake exciting modifications, remember that safety precautions are necessary to protect both yourself and your Xbox One throughout this procedure.
By following our guide, you can easily access its internal components and even enhance its performance by adding some modifications to it.
Moreover, we’ve discussed how to clean your Xbox One effectively so you can keep your console’s performance well.
FAQs
Is it possible to disassemble an Xbox One?
Yes, Indeed! The Xbox One can be taken apart. However, this process requires caution and specific steps to ensure it’s done safely. Reasons for disassembly include cleaning, cooling improvements, repairs, upgrades, and curiosity about internal components.
What’s the method for cleaning my Xbox One without taking it apart?
You can clean the exterior using a microfiber cloth, compressed air for crevices, and isopropyl alcohol-soaked cotton swabs for buttons and ports. For controllers, use a cloth and compressed air as well. For internal cleaning, take a blower to clean the dust.
What tools are required for Xbox One disassembly?
You’ll require a flathead screwdriver (preferably plastic), a T8 Torx screwdriver, and a T9 Torx screwdriver to safely disassemble your Xbox One.


